If you've landed on this page, you're probably wondering: "What exactly is DTF, and why is everyone talking about it?" You've seen the vibrant prints, heard about the low startup costs, and maybe you're ready to dive in. This guide will answer every question you have—and some you didn't know to ask.
📚 What You'll Learn
🎯 1. What is DTF Printing?
DTF stands for Direct-to-Film. It's a relatively new printing technology that allows you to transfer full-color, photorealistic designs onto almost any fabric—cotton, polyester, blends, nylon, leather, and even some hard surfaces.
Unlike traditional methods that require separate screens for each color or limit you to certain fabric types, DTF prints your design onto a special PET film, coats it with adhesive powder, and then heat-presses it onto the garment. The result? Vibrant, durable, and soft-to-the-touch prints.
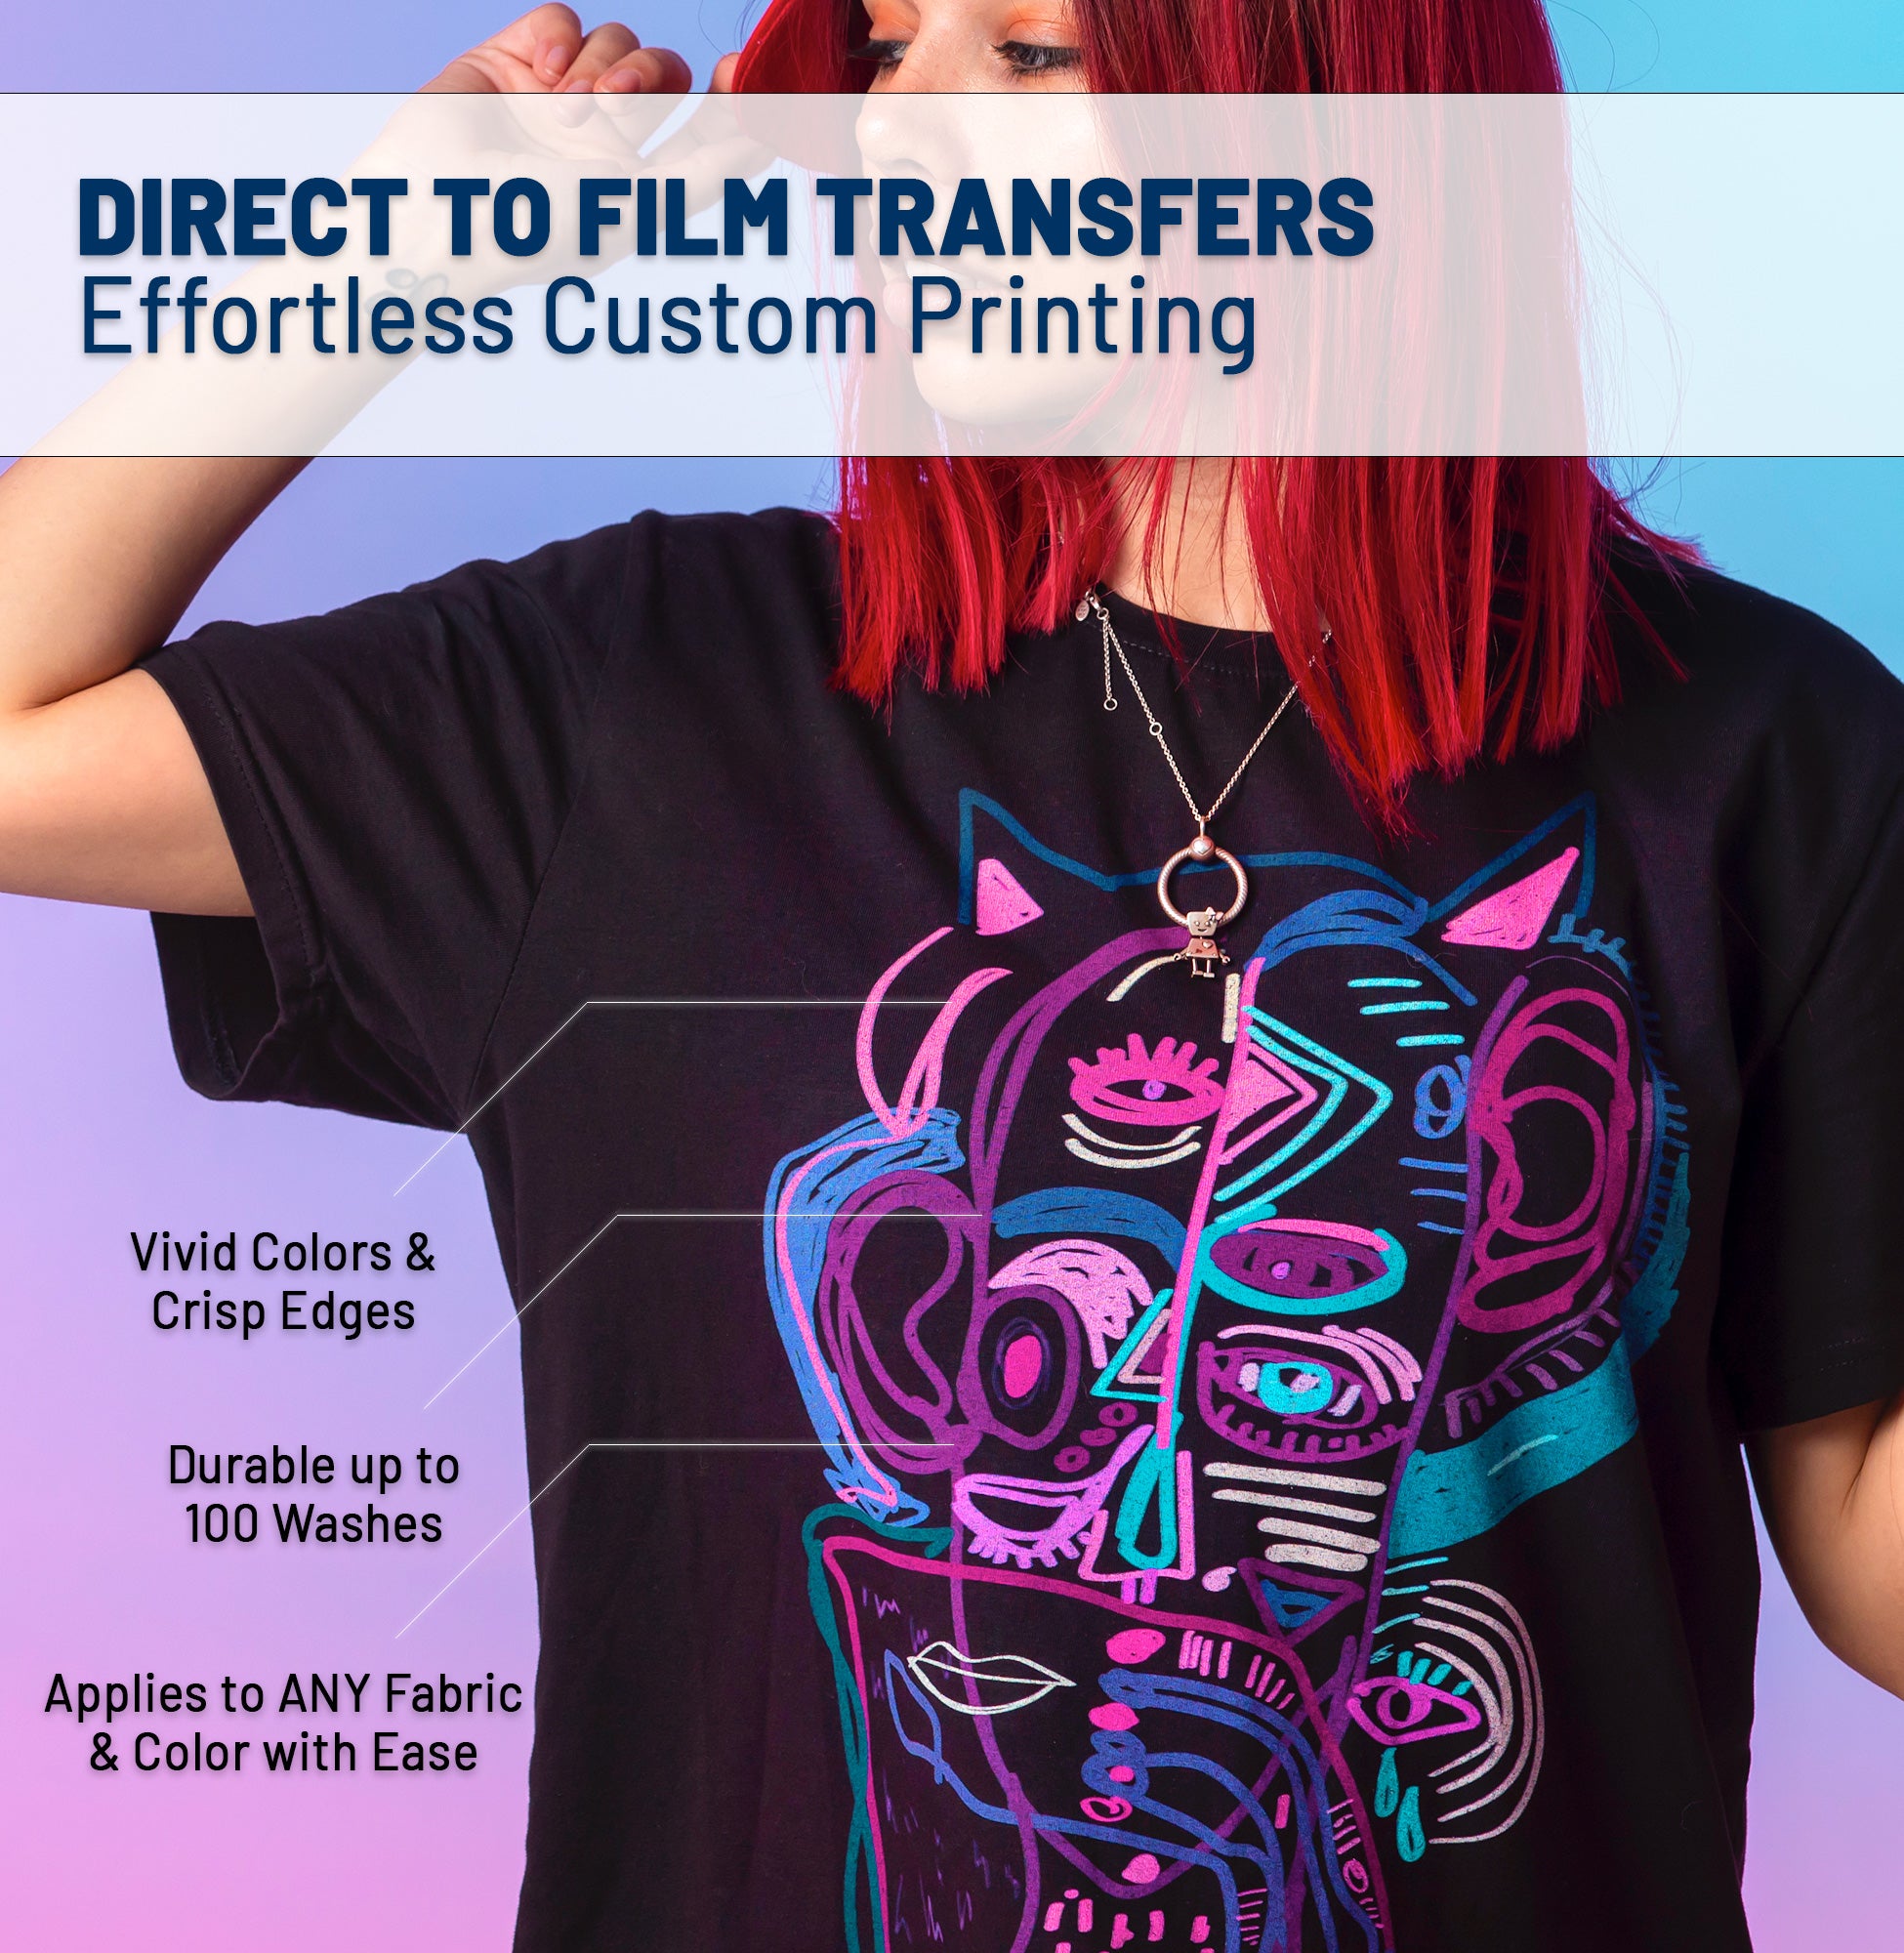
💡 Why DTF is a Game-Changer
- No Color Limits: Print gradients, photographs, and complex art with ease.
- No Minimums: Print one shirt or one thousand—cost per print stays reasonable.
- Works on Dark Fabrics: Built-in white underbase means no washed-out colors.
- Low Barrier to Entry: You don't need a $20,000 screen printing setup.
⚙️ 2. How Does DTF Work? (Step-by-Step)
The DTF process can be broken down into these core stages:
Print the Design
A specialized DTF printer prints CMYK + White inks (in reverse order—white first) onto a clear PET film.
Apply Adhesive Powder
TPU (thermoplastic polyurethane) powder is sprinkled over the wet ink. It sticks only to the printed areas.
Cure the Transfer
The film passes through an oven or conveyor dryer to melt and bond the powder to the ink.
Heat Press to Fabric
Place the transfer on the garment and press at ~300°F / 150°C for 15-20 seconds with heavy pressure.
Peel & Finish
Wait for it to cool (cold peel) or peel warm (hot peel), then do a quick second press for durability. Done!
🆚 3. DTF vs. Screen Printing vs. Sublimation vs. Vinyl
With so many decoration methods available, how does DTF stack up?
| Feature | DTF | Screen Print | Sublimation | HTV Vinyl |
|---|---|---|---|---|
| Works on Dark Fabrics | ✅ Yes | ✅ Yes | ❌ No | ✅ Yes |
| Full-Color Photos | ✅ Yes | ❌ Limited | ✅ Yes | ❌ No |
| Works on Cotton | ✅ Yes | ✅ Yes | ❌ No (Poly only) | ✅ Yes |
| No Minimum Orders | ✅ Yes | ❌ Usually 24+ | ✅ Yes | ✅ Yes |
| Soft Hand Feel | Good (Improving) | Excellent | Excellent | Moderate |
| Setup Cost | Low (Just Heat Press) | High | Moderate | Low |
Bottom Line: DTF offers the best balance of versatility, quality, and low barrier to entry for most beginners and small businesses.
🛠️ 4. Equipment You Need (Spoiler: Not Much)
Here's the beauty of DTF: You don't need to buy a printer. Companies like Sky Print House do the printing and curing for you. All you need is:
1. Heat Press
A quality 15x15" clamshell or swing-away press. Budget: $200-$500.
ESSENTIAL2. Teflon Sheet or Parchment
Protects your press and garment during the second press. Budget: $5-$15.
ESSENTIAL3. Blank Garments
Cotton, poly, or blends. Start with a few samples to test. Budget: $3-$15/each.
ESSENTIAL4. Heat Tape
Holds your transfer in place so it doesn't shift. Budget: $5.
OPTIONAL (Helpful)🖼️ 5. File Preparation Essentials
Your artwork quality directly impacts print quality. Follow these rules:
- RULE Resolution: Minimum 300 DPI at actual print size. Low-res images = pixelated prints.
- RULE Format: PNG with transparent background. NO JPEGs (they have white backgrounds).
- RULE Color Mode: CMYK preferred. RGB colors may shift when converted to print.
- RULE Edges: Hard, crisp edges only. Soft glows/shadows can cause white halos.
📖 Deep Dive: Read our full Artwork Preparation Guide for advanced tips.
🔥 6. Heat Press Settings Cheat Sheet
Every transfer is slightly different, but here are general guidelines for standard DTF transfers:
| Setting | Recommended |
|---|---|
| Temperature | 300-315°F (150-157°C) |
| Time (1st Press) | 15-20 seconds |
| Pressure | Heavy/Firm (60 PSI equivalent) |
| Peel Type | Cold Peel (wait until cool) |
| 2nd Press | 10-15 sec with parchment (for durability) |
❌ 7. Five Common Beginner Mistakes
Not Pre-Pressing the Garment
Moisture in fabric causes steam bubbles and poor adhesion. Always pre-press for 5-10 seconds.
Insufficient Pressure
DTF requires heavy pressure to bond. If it feels "easy" to close, tighten the knob.
Skipping the Second Press
This step "seals" the print and dramatically improves wash durability. Never skip it.
Peeling Too Hot
If your transfer says "Cold Peel," WAIT. Peeling too soon can rip the design or leave a matte finish.
Using Low-Quality Transfers
Cheap transfers use inferior powder and inks. Invest in quality from a trusted supplier.
💎 8. Pro Tips from Industry Veterans
- 🔁 Test, Test, Test: Every blank brand and color behaves differently. Always test before a big order.
- 📦 Store Transfers Flat: Rolling or bending can crack the adhesive layer.
- 🧺 Wash Care Matters: Advise customers to wash inside-out, cold, and tumble dry low.
- 📐 Use a Placement Tool: A ruler or laser alignment helps keep prints centered and straight.
- 🛒 Order Gang Sheets: Save money by packing multiple designs onto one sheet. Learn more.
🚀 Ready to Start?
You now have everything you need to begin your DTF journey. Start small, experiment, and don't be afraid to make mistakes—that's how you learn.
Not sure where to begin? Order a Free Sample Pack to experience the quality firsthand, or dive straight into our Gang Sheet Builder to create your first custom transfer.
This guide is part of the Sky Print Academy — your free resource for mastering custom apparel printing. Bookmark this page and share it with anyone starting their DTF journey!