



You ordered premium transfers. You set up your heat press. You followed the instructions.
But when you peeled the film, your heart sank.
The design didn't stick. Or maybe it looked "oily." Or worse, it cracked after one wash. In the custom apparel business, these mistakes cost money—not just in wasted materials, but in lost customer trust.
At Sky Print House, we print thousands of linear feet of film every day. We’ve seen every mistake possible, so you don't have to make them. This is the definitive guide to fixing your DTF headaches.
The Gold Standard: What a "Perfect Press" Looks Like
Before we fix the bad, let's define the good. A high-quality DTF transfer should feel:
- Integrated: The ink should sit into the fibers, not just float on top like a sticker.
- Matte & Smooth: Unless you bought glitter, there should be no glossy "plastic" sheen.
- Stretchable: It should move with the shirt without cracking immediately.

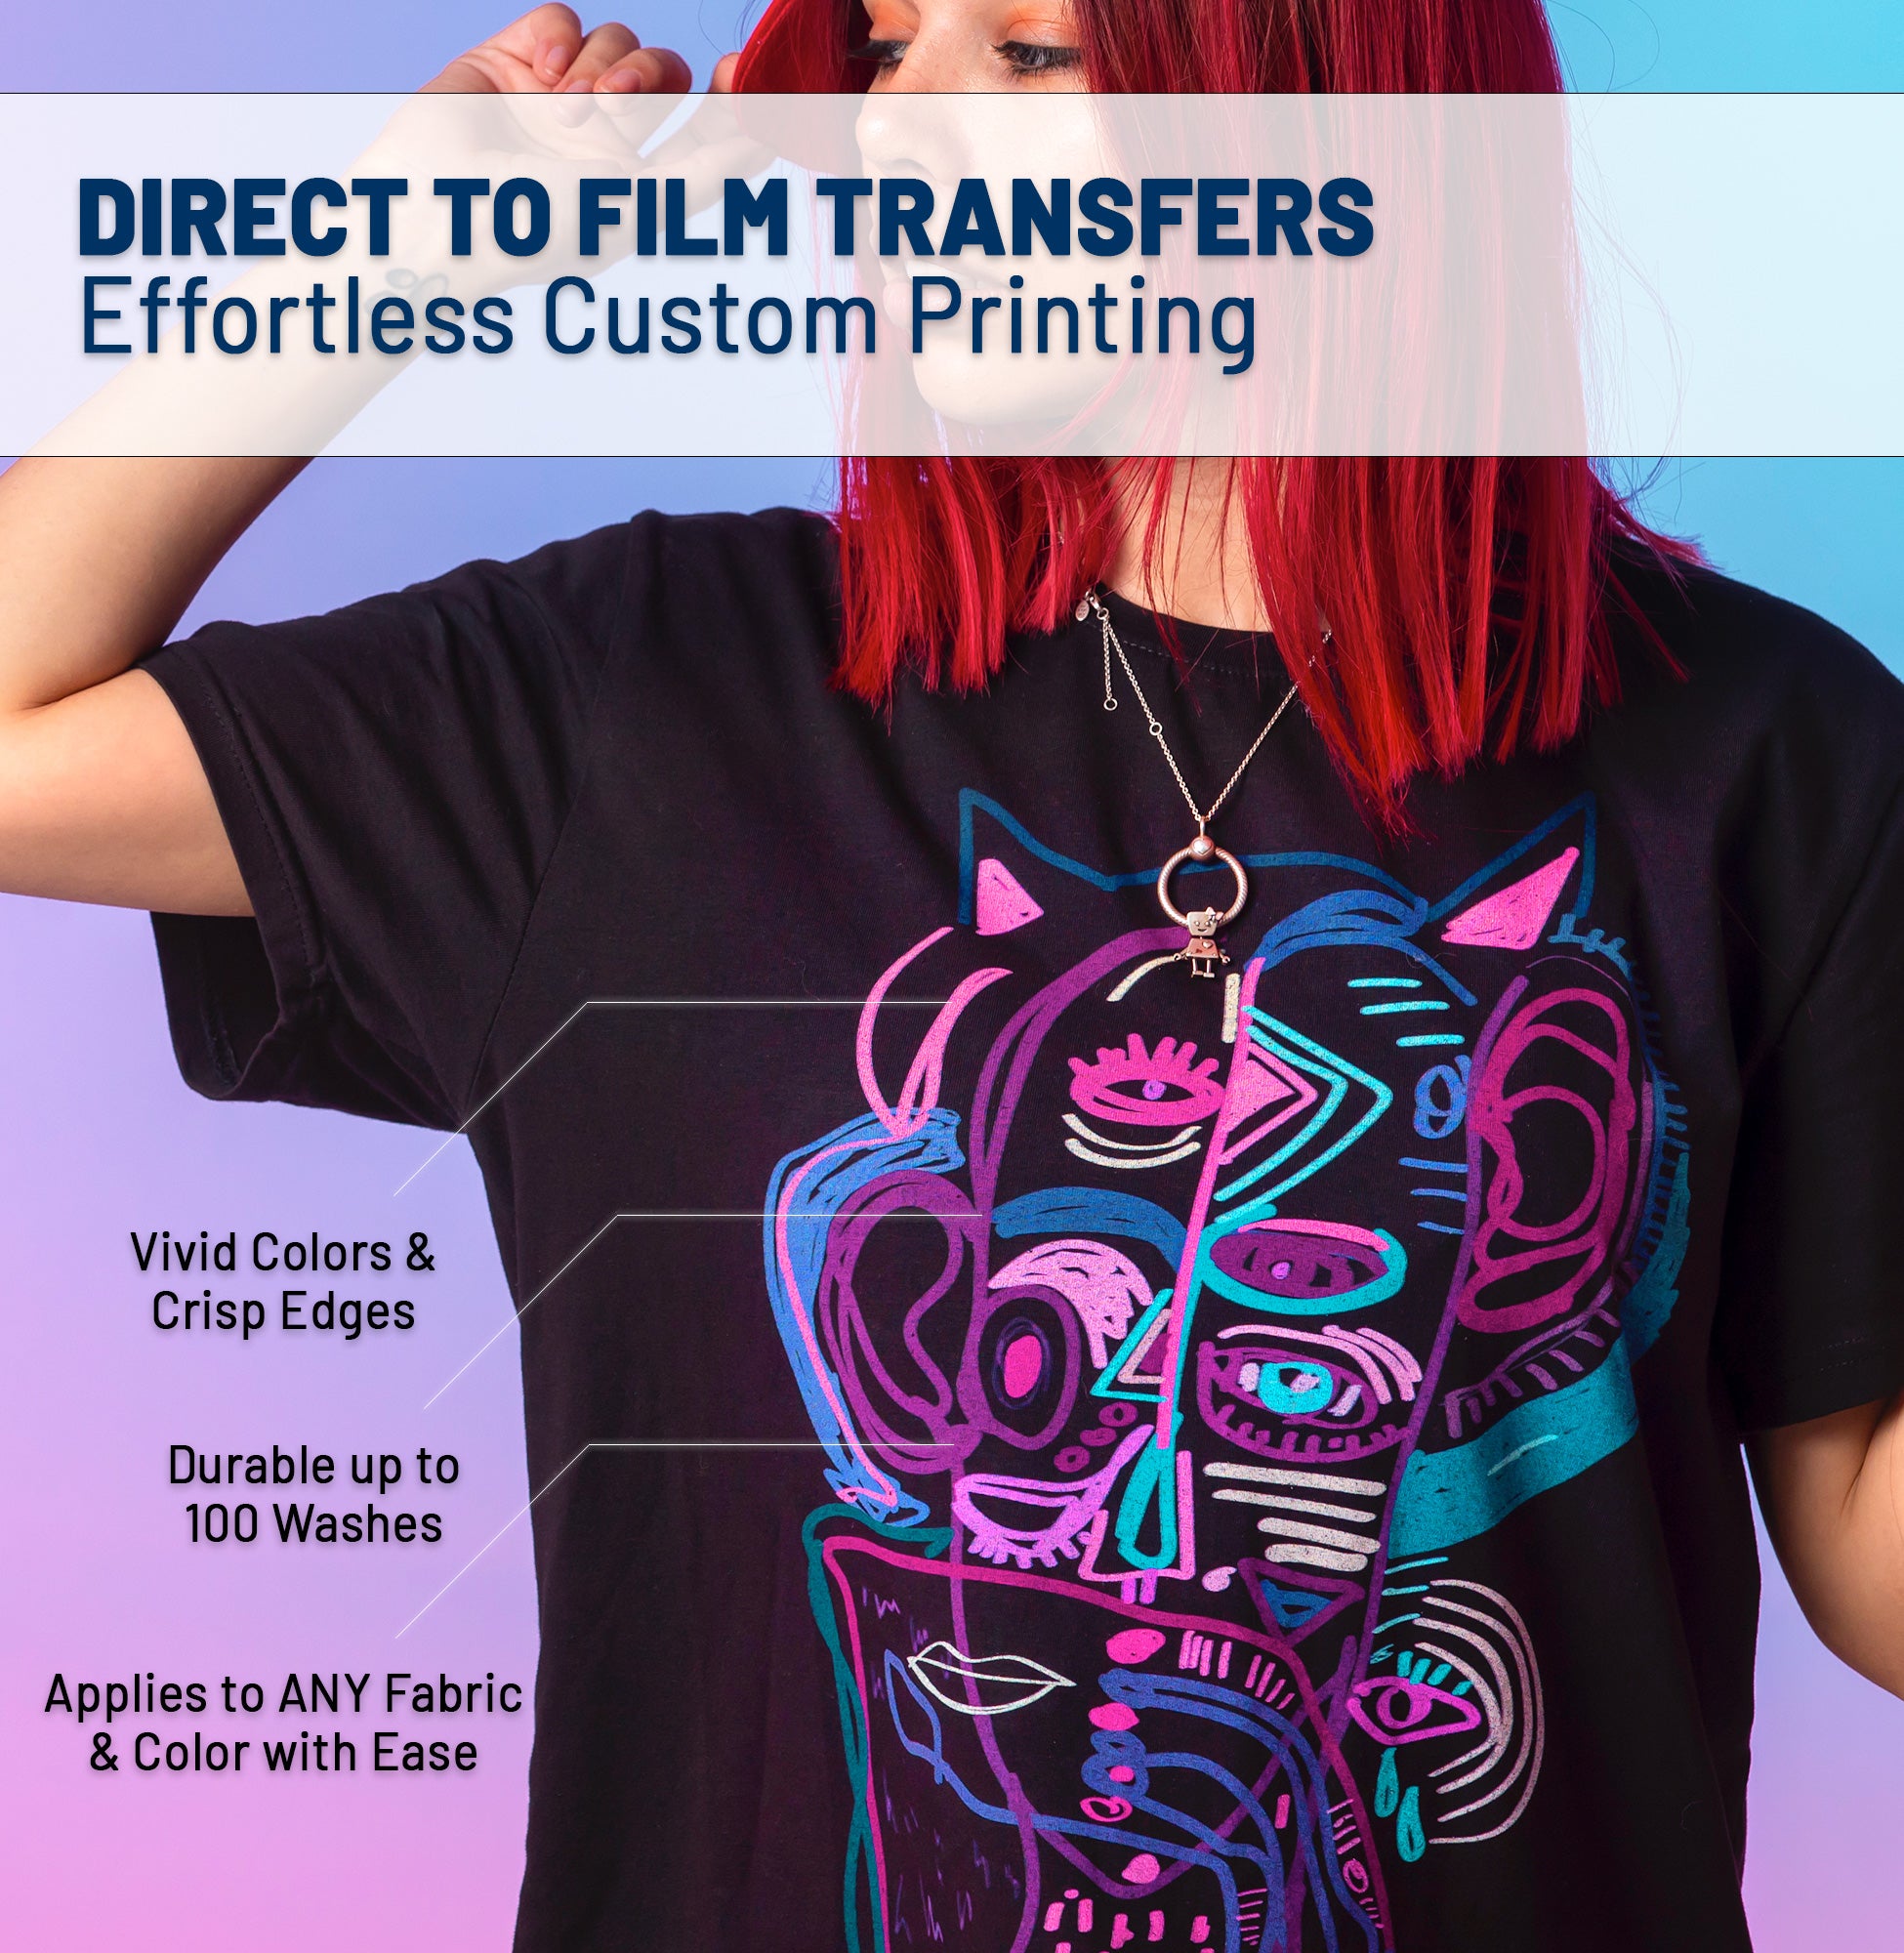
Exhibit A: Notice how the ink texture mimics the fabric grain. This is the goal.
Problem #1: The "Lift-Off" (Design Peels with Film)
The Symptom: You press the shirt, wait for it to cool, and start to peel. But instead of staying on the shirt, the ink lifts up and stays stuck to the film.

The Nightmare Scenario: This typically happens for one of three reasons.
The Fixes:
1. Cold Peel Means COLD
Most premium films (including ours) are Cold Peel. This isn't a suggestion; it's chemistry. If the adhesive is even slightly warm, it is still in a semi-liquid state. If you peel now, you break the bond.
Solution: Take the shirt off the press. Wave it in the air. Wait 60 seconds. Touch it with the back of your hand—it should feel cool like the tabletop.
2. Pressure Was Too Low
DTF needs heavy pressure to push the melting adhesive into the fabric weave. If you are using a manual press, you should struggle slightly to lock it down.
Solution: Increase pressure to 60 PSI (Heavy). If you can move the paper with your hand while it's clamped, it's too loose.
3. The "Moisture" Barrier
Cotton fabrics hold moisture (humidity), even if they feel dry. When you heat them, that moisture turns to steam. The steam pushes the adhesive away from the fabric.
Solution: Always Pre-Press your bare garment for 5-10 seconds before applying the transfer. This evaporates the moisture and flattens the fibers.
Problem #2: The "Oily" or Spotted Look
The Symptom: The print transferred, but it looks wet, spotted, or has weird translucent dots.
The Cause: Under-Cured Powder
If the adhesive powder on the back of the film wasn't melted properly during manufacturing (or if you printed it yourself and rushed the oven), the glue doesn't bond uniformly.
Why SPH Customers Don't Have This Problem: We use industrial conveyor dryers that monitor temperature to the exact degree. Every linear foot is cured perfectly before we ship.
Problem #3: Cracking After Wash
The Symptom: The shirt looked great on day 1, but after the customer washed it, the design looks like a cracked desert floor.
The Cause: Skipped the Second Press
This is the #1 rookie mistake. The first press just adheres the glue. The Second Press seals the deal.
🛡️ The Golden Rule: Always Post-Press
After peeling the film, cover the image with Parchment Paper (for matte) or Teflon (for gloss) and press again for 5-10 seconds.
This pushes the ink deep into the fabric and significantly increases elasticity and wash durability.
Need Reliable Transfers?
Stop gambling with your reputation. At Sky Print House, we guarantee our film quality so you can press with confidence.